

How Did You Make That?
Leather work is both an art form and a skill. While I don't consider myself much of an artist per se, my brain looks at things and automatically understands how to put them together. (Or take them apart!)
In this trade, I find myself needing to be a designer, carpenter, metal smith, mechanic, electritian, accountant, the list goes on and on. Below, I highlight some of what goes into producing the products I make.
Custom Bag
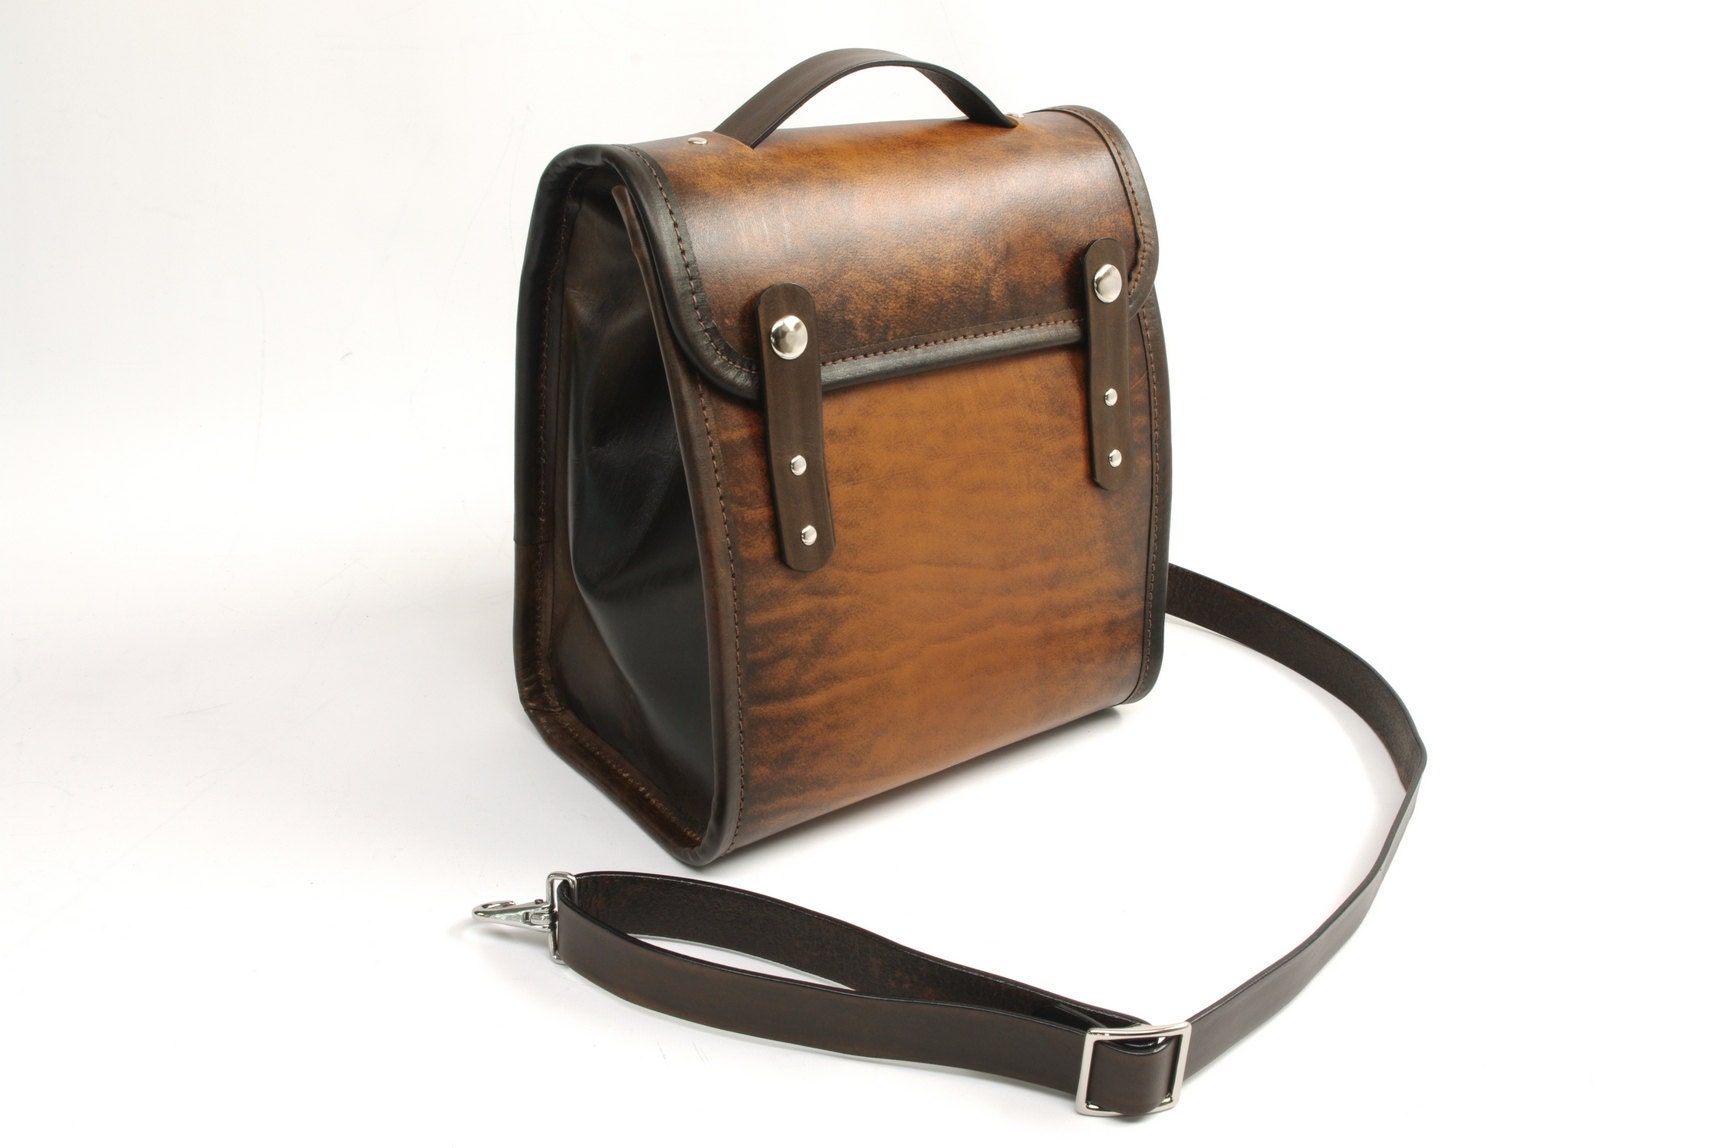
A customer saw my Executive Lunch Bag and wanted to have it made into a purse. More than happy to oblige, I will be adding this bag to my product line as both a purse and a backpack!
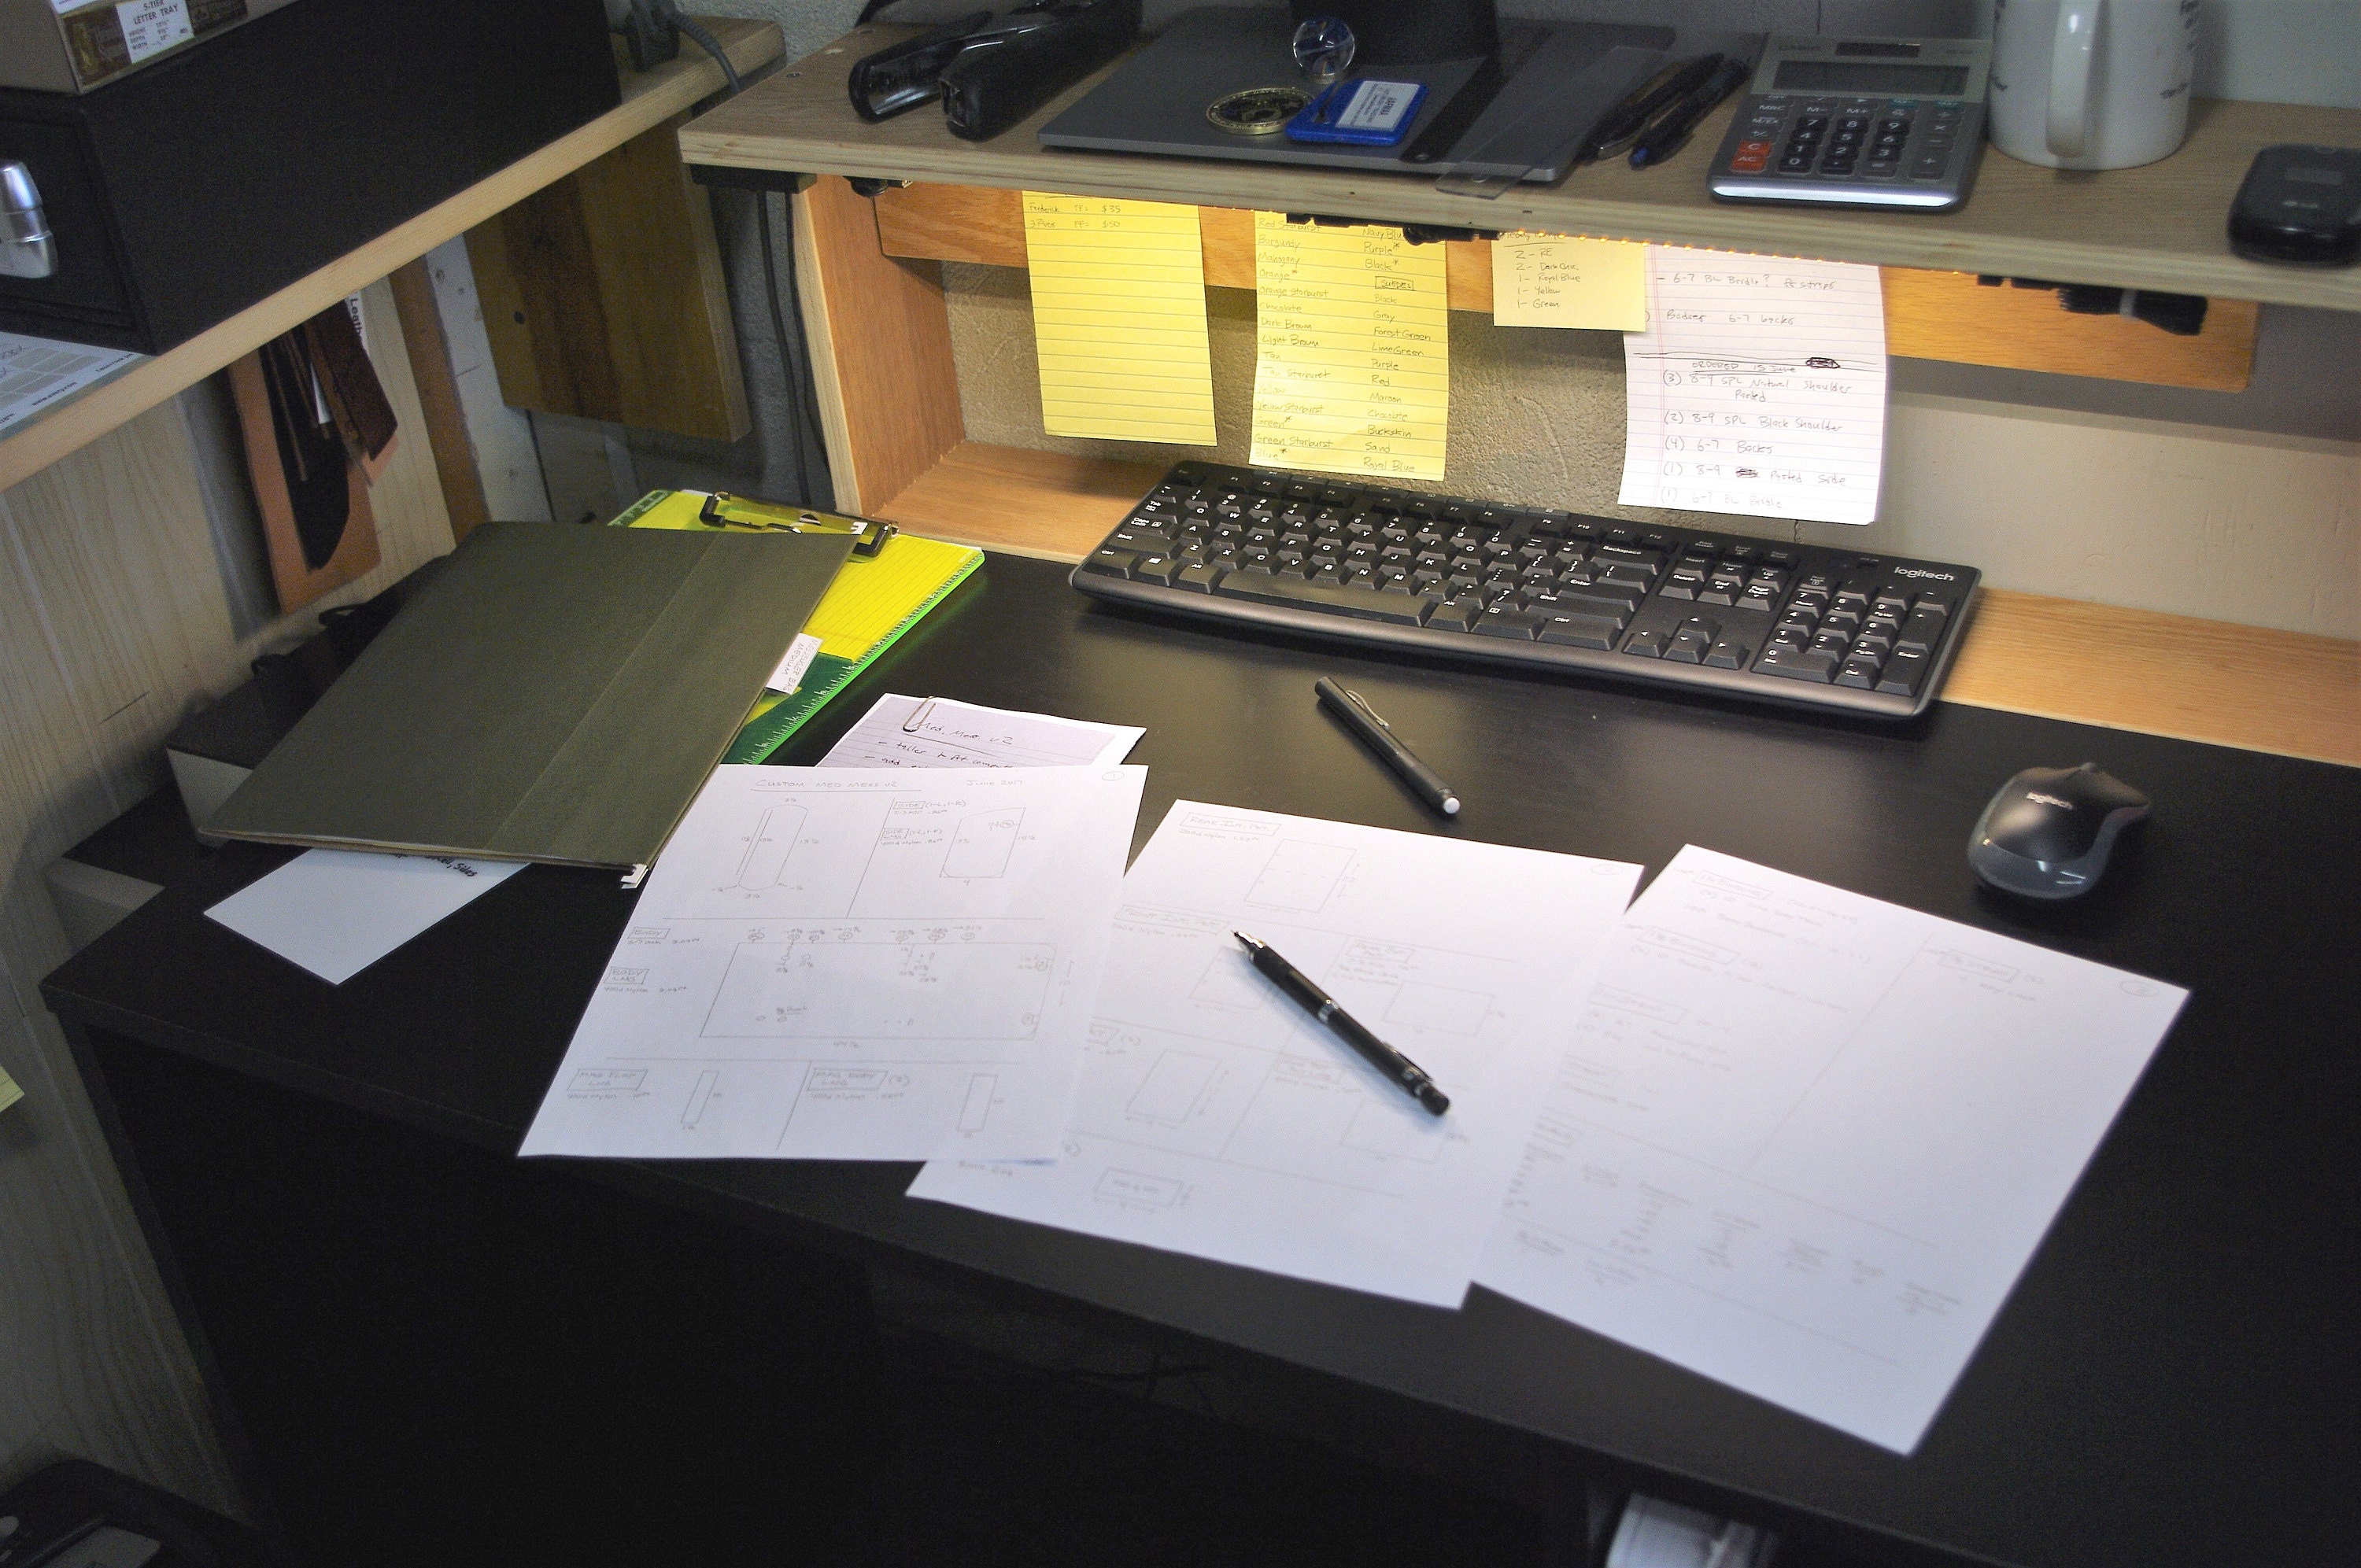
All my bags begin their life at my desk. While I am not skilled at all at drawing, I can see how designs will work in my head and I sketch that out on paper where I can crunch the numbers and make everything work.
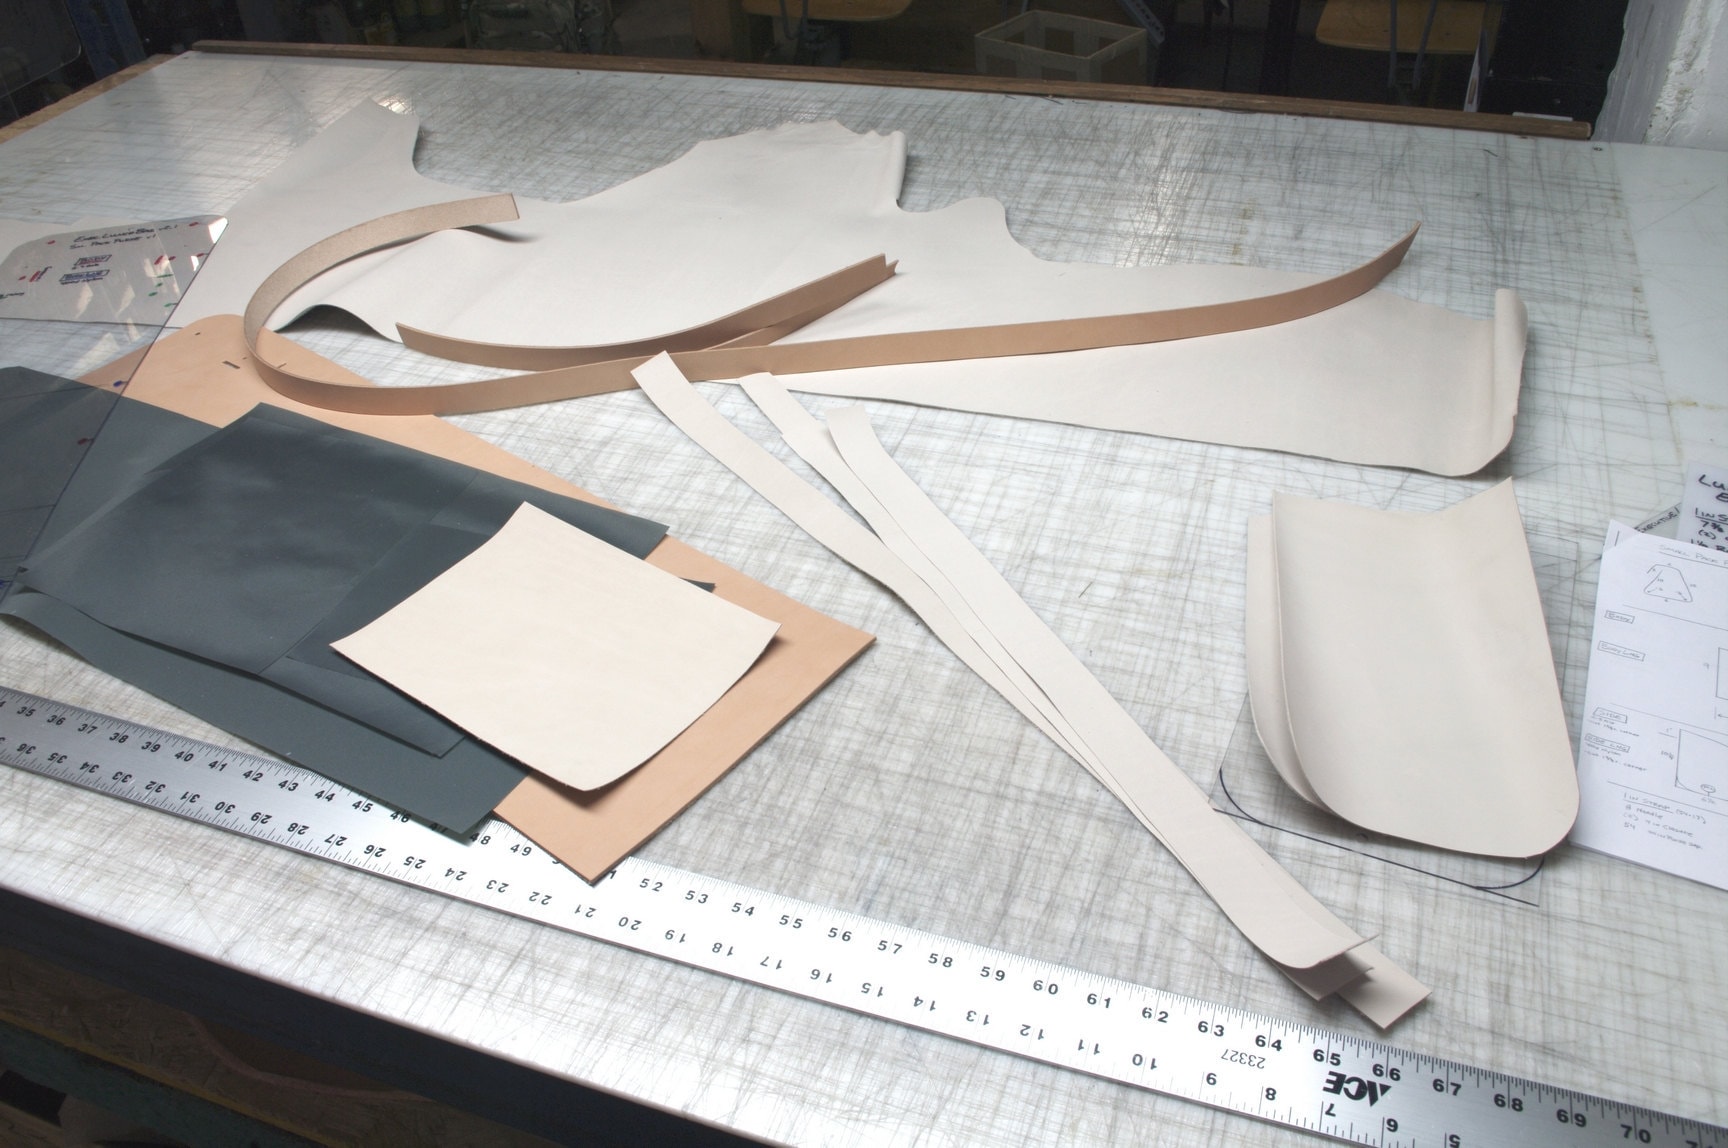
I started with the desgin I had drawn for my Executive Lunch Bag, adding inside pockets, a strap and an exterior pocket. With the design and patterns updated, I cut all the necessary pieces on my cutting table. I use veg-tanned cowhides; while it softens as it breaks in, it still maintains its shape, is lightweight and very strong. Certain cuts of the hide are ideal for different applications. For the bodies of my bags I use sides, while I use double shoulders for straps. For the sides and trim, I use kip (young cow) because it is very dense, very strong, more flexible and I can split it very thin. I line all my bags with 400 denier nylon pack cloth. This material is waterproof, extremely durable and finishes out the interior of my bags beautifully.
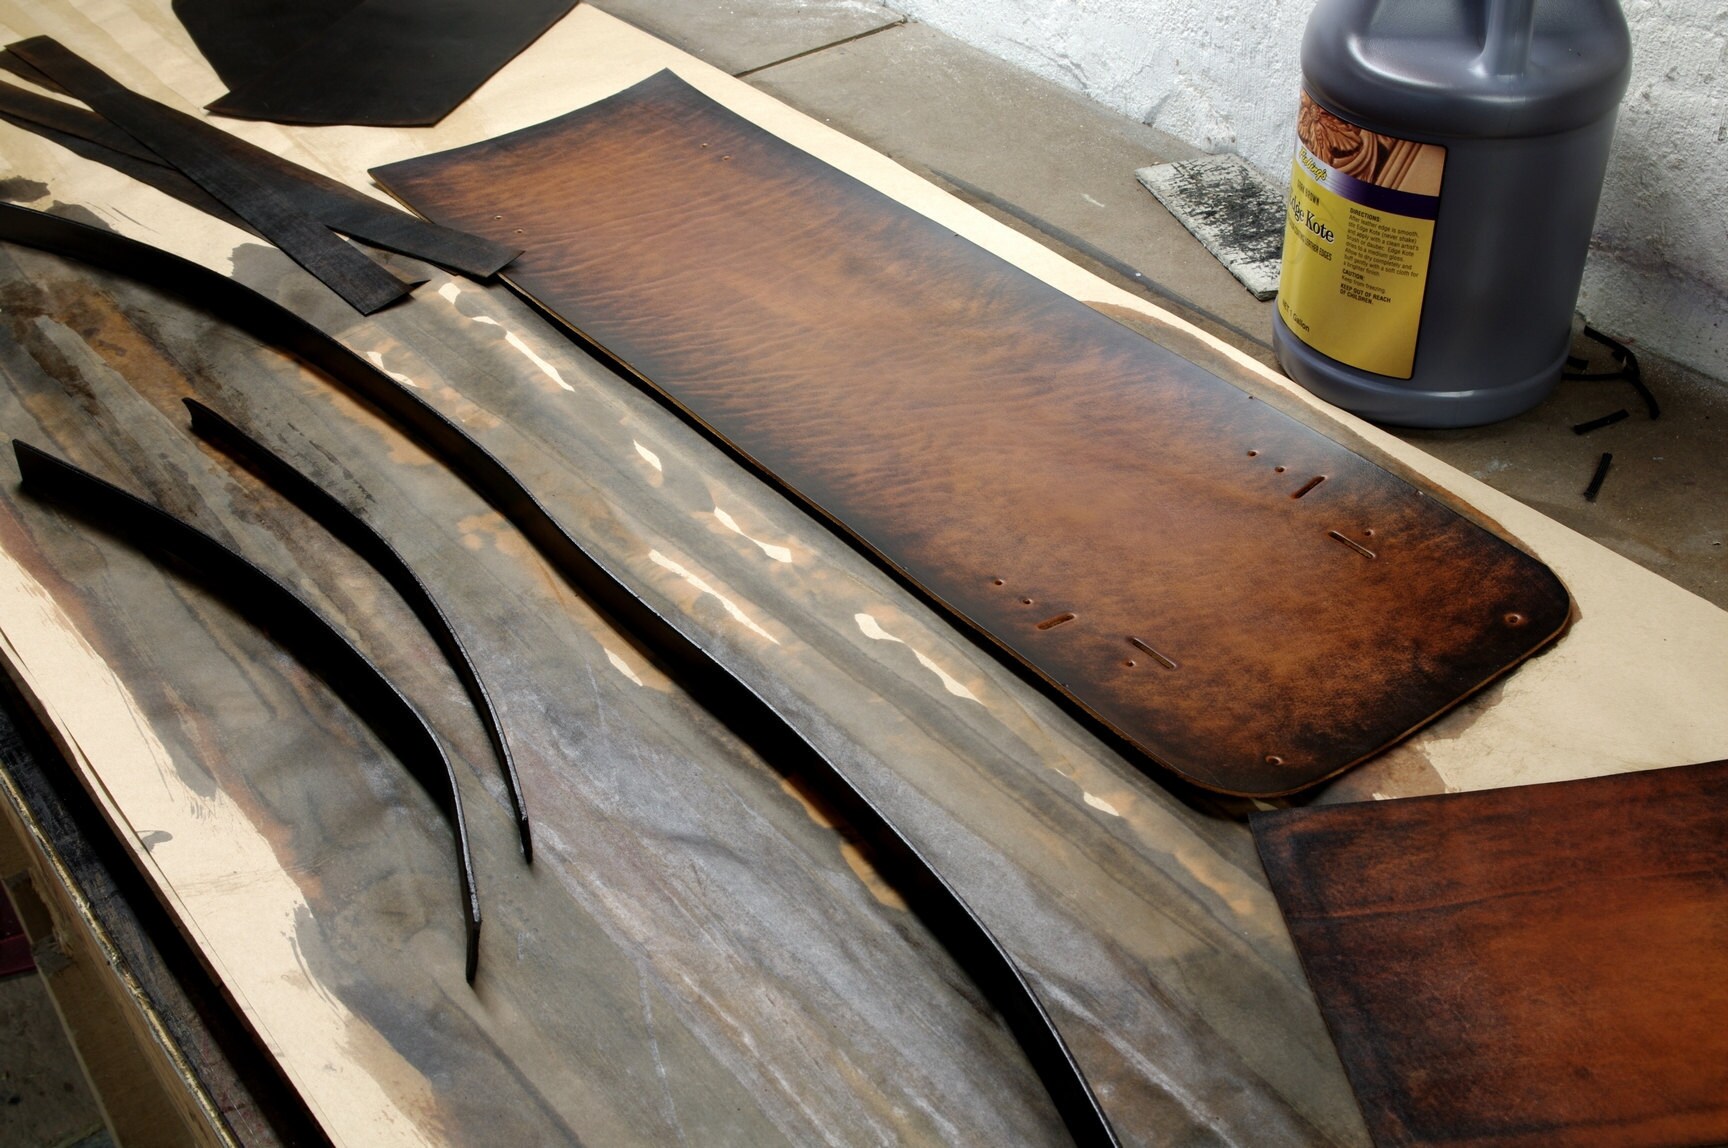
I use natural (undyed) leather, so I must dye and finish it myself. While it is more work to dye my bags by hand, it allows me to produce a myriad of colors and effects. This bag is Tan Starburst. I started with Saddle Tan as a base color, and then dyed over that with Dark Chocolate using a block of wood wrapped in fabric. This allows me to fade the color in from the edges to create somewhat of a burnished effect and to bring out the character of the individual piece of leather. By doing this, each bag I make is one-of-a-kind. The finish I use is an acrylic that resists water, so when you get caught out in the rain, the water tends to simply bead off. Combined with my waterproof nylon lining, your stuff will definitely stay dry out in the rain.

After a bit of pre-assembly work, my bags are ready for the sewing machines. I have two sewing machines that I frequently use: the first is a Pfaff flat bed machine which is labeled "Made in West Germany" and the second is this Consew cylinder arm machine. This machine is a necessity for the style of work that I do. I use heavy nylon thread to sew my bags becasue I expect them to last a lifetime. Here, I just finished binding the seams on the body of this bag. A couple rivets to trim out the binding, and this bag is finished.
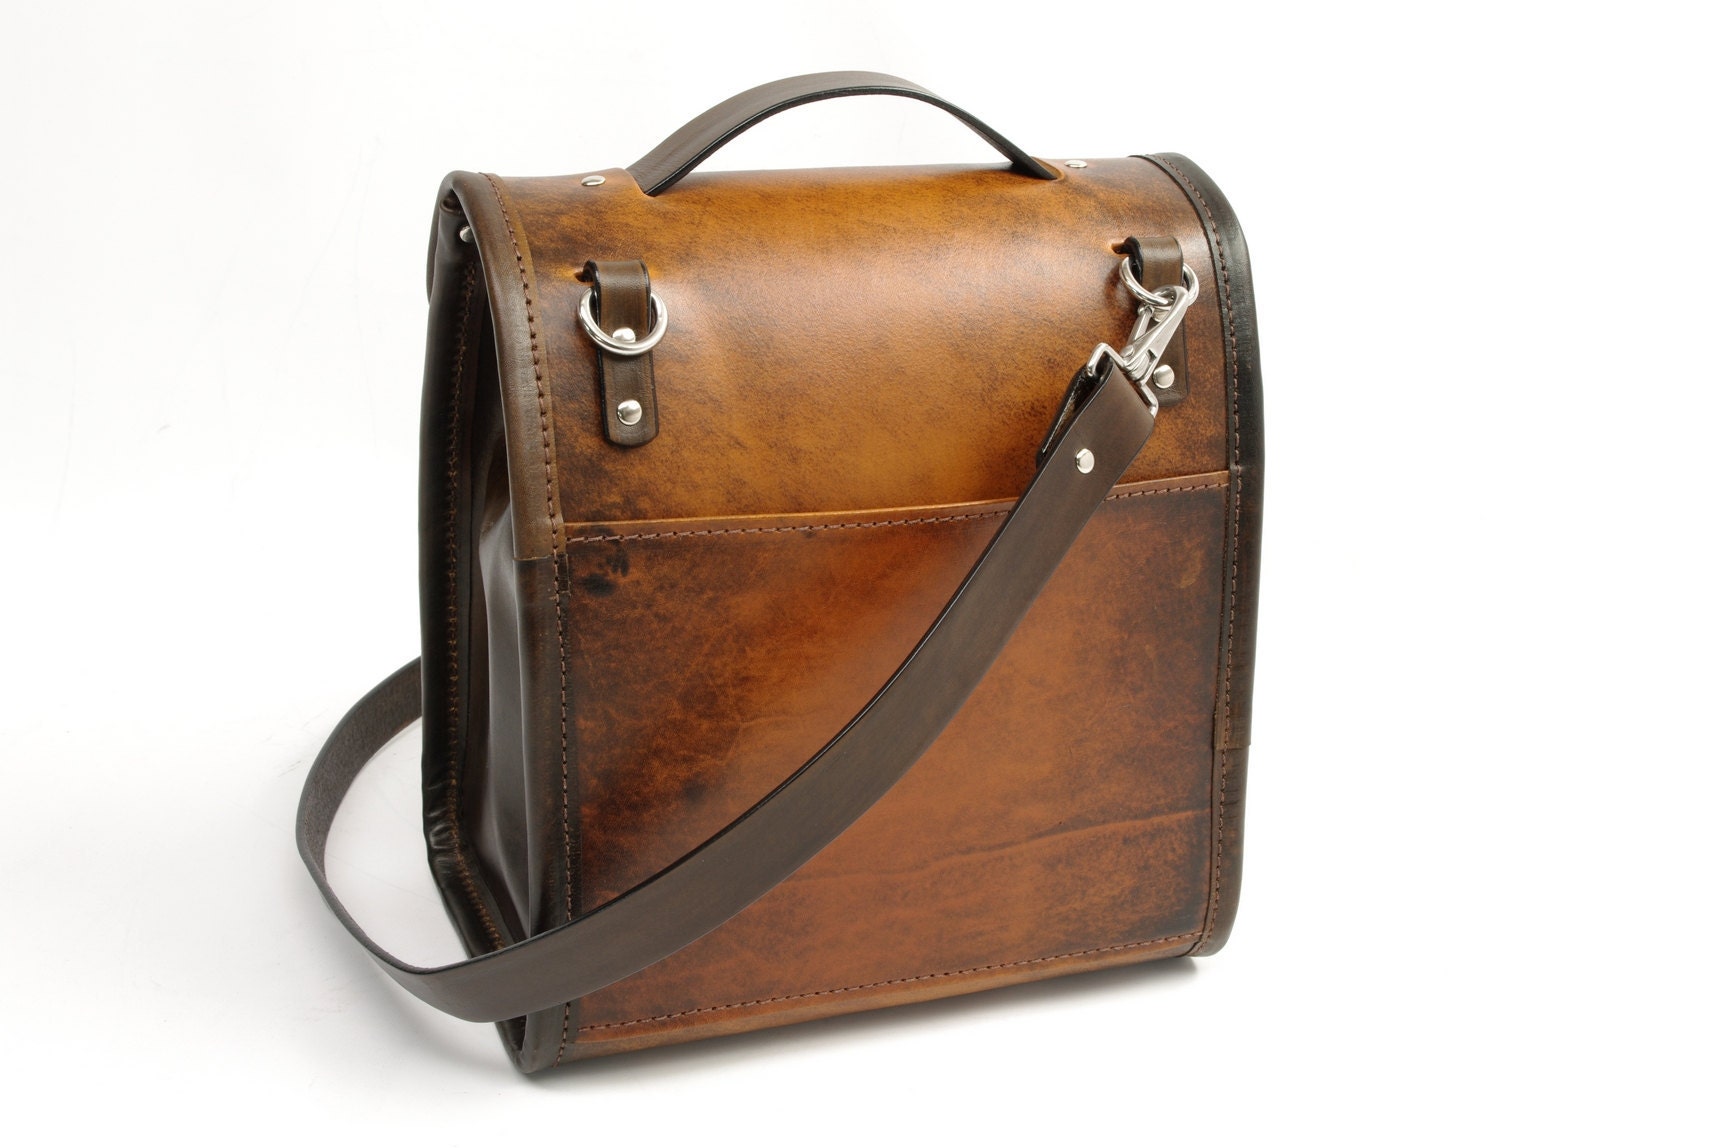
Here you can see the strap I added and the rear exterior pocket, perfect to keep your cell phone handy!

I added a ring on the inside to attach the matching key ring.